What is panissa anyway?
I’m glad you asked that. I didn’t know myself until we went to visit the seaside village of Noli a couple of months ago. I have eaten the Piedmont version of panissa many times, and I discovered that it is a completely different dish to panissa from Liguria. Panissa from Piedmont is a type of risotto with dried beans and sausages, whereas panissa from Liguria is a fried appetizer made with chickpea flour. Who knows how two such different recipes came to have the same name! You certainly can’t mistake one for the other, even on a dark night.
In the end, it’s always about eating
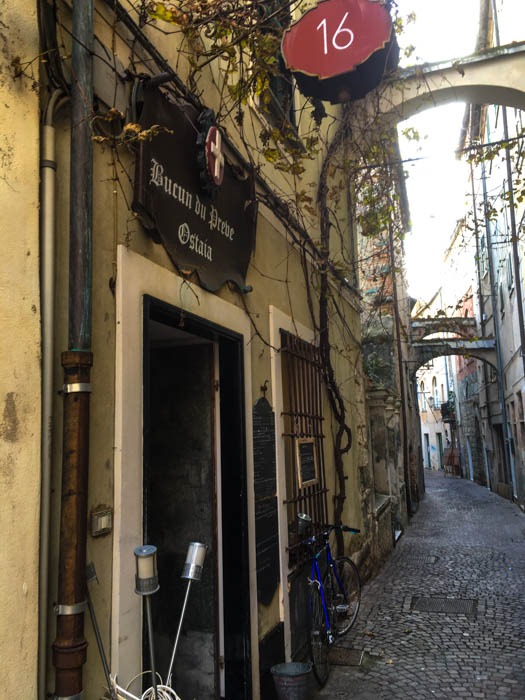
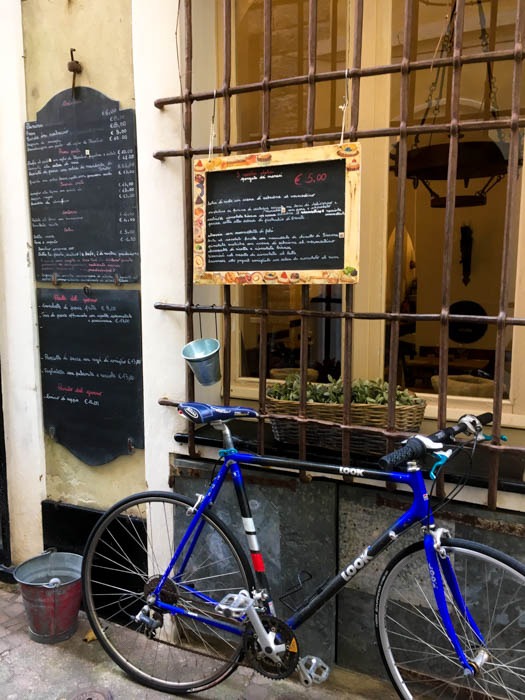
I discovered Ligurian panissa at a restaurant in Noli called Bucùn du Preve, that is part of the Italian Slow Food organization. If a restaurant has a snail sticker on the door, the food is guaranteed to be excellent and also regional. We weren’t disappointed! The name of the restaurant is actually the word in dialect for a part of a chicken that was highly prized in the past, but is eaten a lot less these days; probably due to its location on the bird.
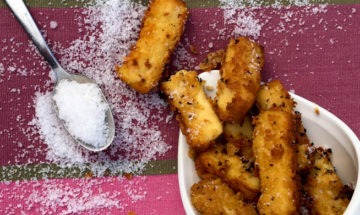
It was difficult to choose which appetizer to order, so we ordered one of each and shared them all between us. One of my favourites was the fried panissa. Before ordering it, none of us had any idea what it actually was, but once I tasted it, I became an instant fan. It was one of those recipes that once I’d tasted it, I had to try for myself at home. I have to warn you though, this cooking method is not for the faint-hearted or weak armed, as I was to discover!
Why not to use a pressure cooker
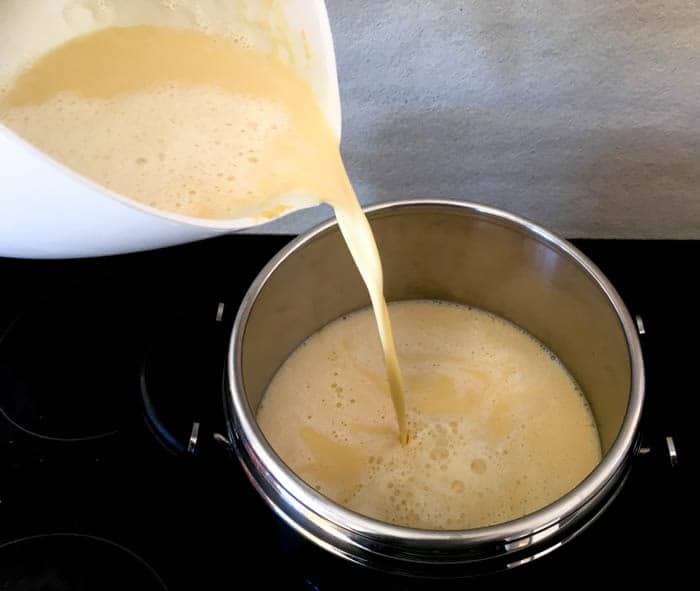
I read in various recipes that you need to cook the mixture very gently for an hour, while stirring constantly. “Aha!”, I thought, ” I’ll beat the system and cook it in the same way that I cook polenta!” Big mistake. You may notice in the photos below that the pot I pour the mixture into is not the same as the one that I am stirring the panissa mixture in while reading a book. This is because I first used a pressure cooker pot. (this is where I thought i’d get away with not stirring it). As soon as the pressure cooker got up to steam, I started to smell a suspiciously burnt odour coming from the pot. I whipped the lid off and found out that the panissa batter had become a solid burnt mess on the bottom.
What to do while the panissa is cooking
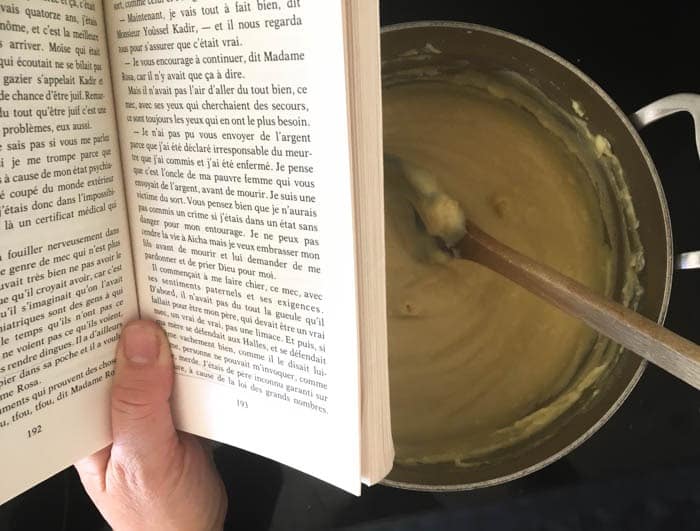
Hours of scrubbing and a new mixture later, I gave in and cooked it in a normal heavy-based pot while stirring it constantly. That’s where the book came in. To pass the time, I tried to read and stir at the same time. It kind of worked OK. I had to put the book down every now and then to give it a proper stir. I suggest standing in front of a movie or TV show instead, just like you can do when you’re working out in a gym. For the record, the book is very good. It’s by Romain Gary and is called “La Vie Devant Soi“. Apparently, it has been translated into English (The life Before Us), if you want to have a look for it.
After an hour, the mixture thickened and looked like it does in the photo below. That’s when you know that it is time to put down your book, or turn off the show you are watching and move on to the next step.

The next step
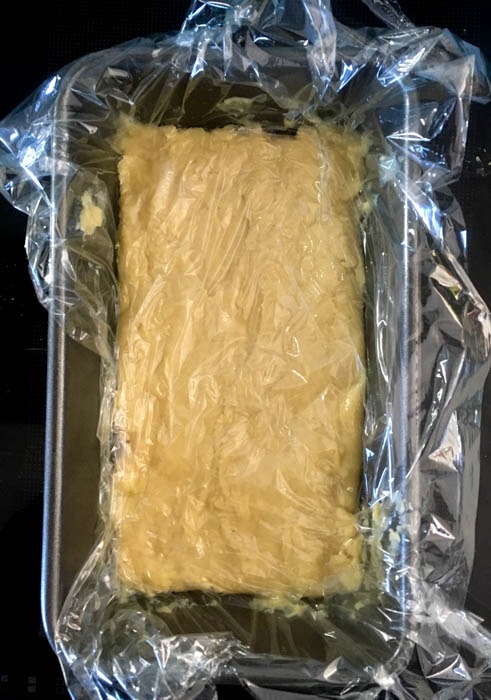
This was pretty exciting after all that stirring. I scraped the panissa into an oiled loaf tin. Yes, that’s all there was to it. After about 10 or 15 minutes, place some clingfilm directly on top of the panissa, otherwise a crust will form, and you don’t want that to happen. Also, from my experience , I highly recommend lining the loaf pan with baking paper or cling film so that the set panissa is easier to get out later. It took me quite an effort and so crushed up panissa to prise it out of the tin after a couple of days in the fridge.
Panissa IS worth all that effort
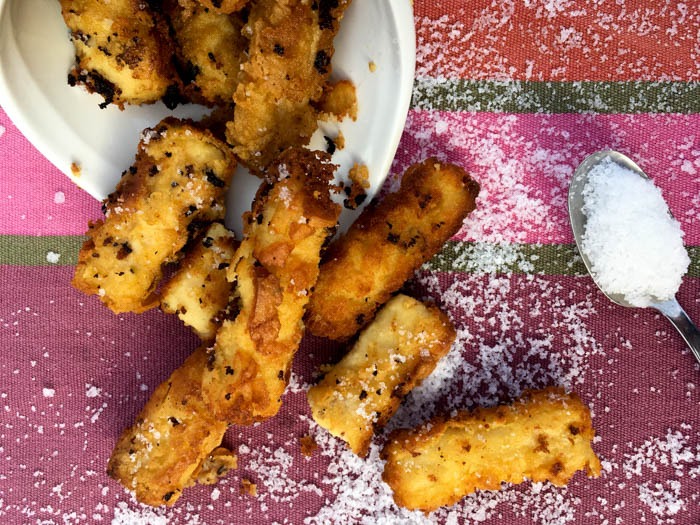
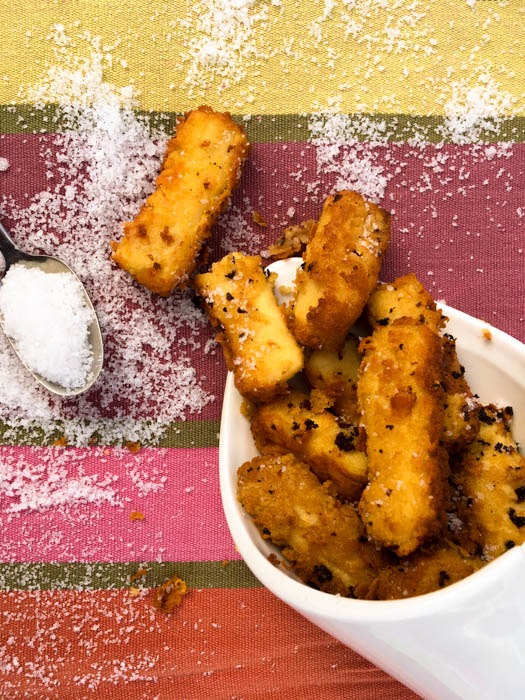
Another note is that you should then fry the panissa within two days of making it, otherwise it starts to get a little watery and break apart when you put it in the hot oil. I left it for four days and then had a few problems keeping it in one piece. It did taste fantastic and crunchy though, so it wasn’t all lost. I also suggest cutting it into cubes rather than long batons like I tried to do (that was trying to make them like I had them in the restaurant), as they are less liable to break apart.
So, if you do try it, let me know how it goes. this was my first effort, and it didn’t look great, but it did taste exactly like I remembered, so I will be going through all the stirring to make it again…..one day.
By Lisa Watson
Paniisa from Liguria, Italy
Ingredients
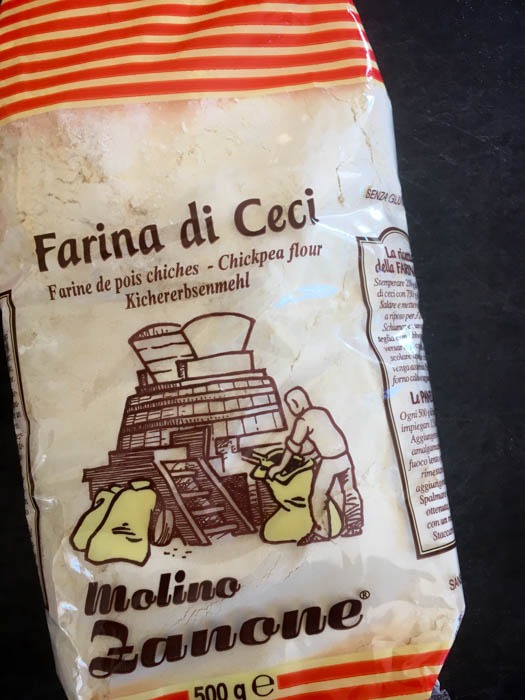
- 500 g Chickpea Flour
- 2 L Water
- 2 tsp Salt
- Olive or vegetable oil for frying
Instructions
- Lightly oil a square or rectangular dish (a loaf pan is perfect).
- Put the chickpea flour and salt in a bowl.
- Slowly pour in the water, whisking continuously to avoid lumps forming.
- Pour the mixture into a heavy-bottomed pot and place on the stove-top at a medium-low heat.
- Whisk continuously for about 15 minutes until the mixture starts to thicken.
- Continuously stir the mixture with a wooden spoon for another 45 minutes until it starts to thicken more and pull away from the sides of the pot.
- Scrape the mixture into the oiled dish. Leave to cool for 10 minutes, then place plastic film directly on top of the mixture.
- Leave to cool completely, then place in the fridge for at least 2 hours, or overnight.
- Heat the oil in a high-sided pot. You need enough oil to let the panissa float while cooking.
- While the oil is heating, take the block of mixture out of the tin. Cut it into thick strips or bite-sized cubes. Cubes are easier to handle, as they don’t fall to pieces so easily. If the knife sticks, wet it between cuts.
- Fry the cubes in the oil until golden-brown. Drain on a paper-towel.
- Sprinkle with salt and eat immediately.