I’ve tried making macarons quite a few times only to end up with gummy, chewy messes. I decided that it was time to rectify this, so went off to a course on making them recently. Sadly my partner-in-crime, Giulia, who I’d spent many hours with trying to figure out where we both went wrong when trying to bake these elusive biscuits, couldn’t join me for fear of throwing up in the middle of the class. I really missed her. It would have been great to be able to turn to a friend during the many “Aha!!!” moments I had during the course and excitedly babble to each other that THAT’S why they didn’t work that particular time! I know that macarons are very French and have nothing what-so-ever to do with Italy, but I really wanted to share what I learnt with you all.

The class was held in Nice at the newly opened Atelier de Tam (see note at bottom of post). Tamara, the chef, was a finalist in the french version of Masterchef last year and has just opened a wonderfully situated cooking school in Nice, which is right near the old town of Nice, overlooking the blue, blue sea. At least this time, the first words out of her mouth weren’t, “There’s no way you can make this at home” as happened when I did a panettone making class last year! In fact, she went to great lengths to show us that you can make macarons even when you’re camping, by getting us to make two batches: one with a held-held mixer and one with the standing mixture. And, she was right. There really didn’t seem to be any difference. Though, the next question is whether you would cart along a candy thermometer, a macaron sheet, a piping bag, an oven, and for that matter, a handheld electric mixer, when your car’s already full of inflatable toys, snorkel gear, tents, towels, food to survive on, fishing rods, kitchen sinks, beer and wine, and all those other indispensable camping items!
Now, what she also proved to me, was that making macarons is a VERY finickety business full of traps that can send you screaming down into a camouflaged pit full of bamboo spikes, where you just can’t get back from. From the humidity on the day, to the type of tray you bake them on, to the egg freshness, and also (which is probably my main difficulty) for the fact that you have to be SUPER-precise when weighing everything, there are many, many ways you can slide off the safe track and into the impenetrable jungle in the blink of an eye.
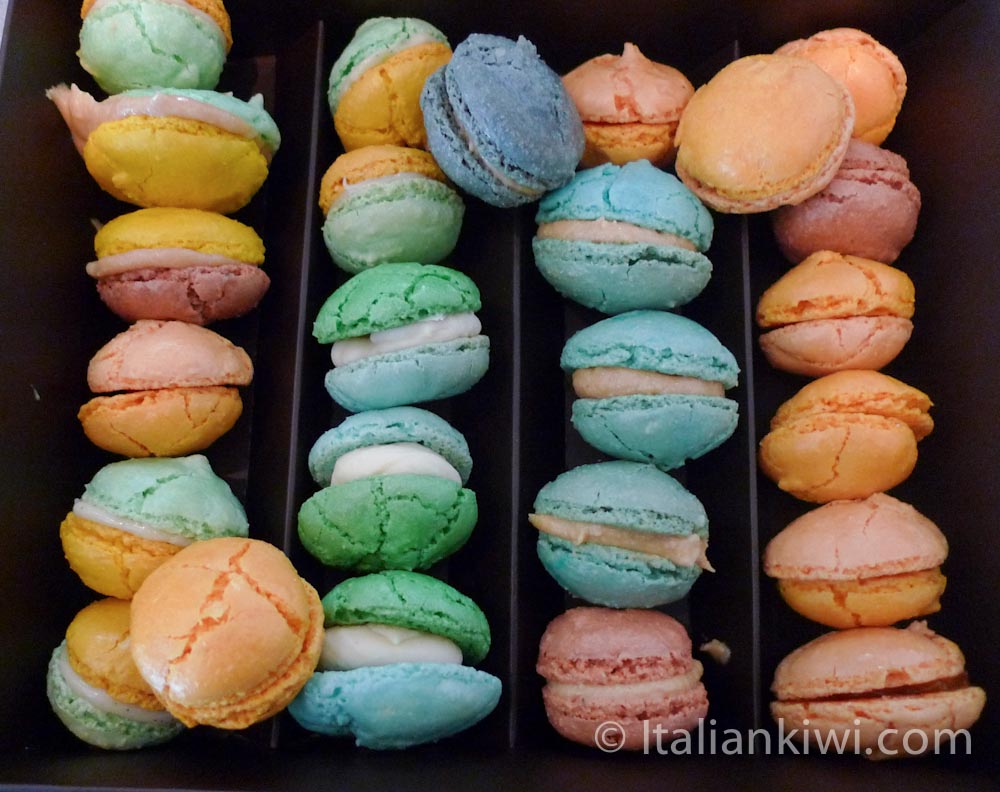
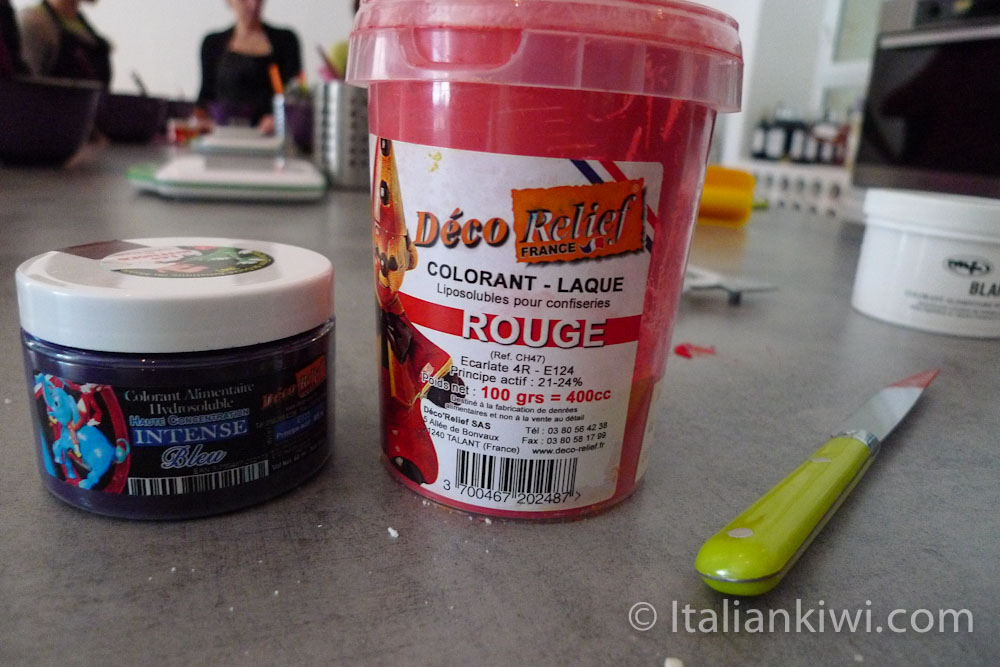
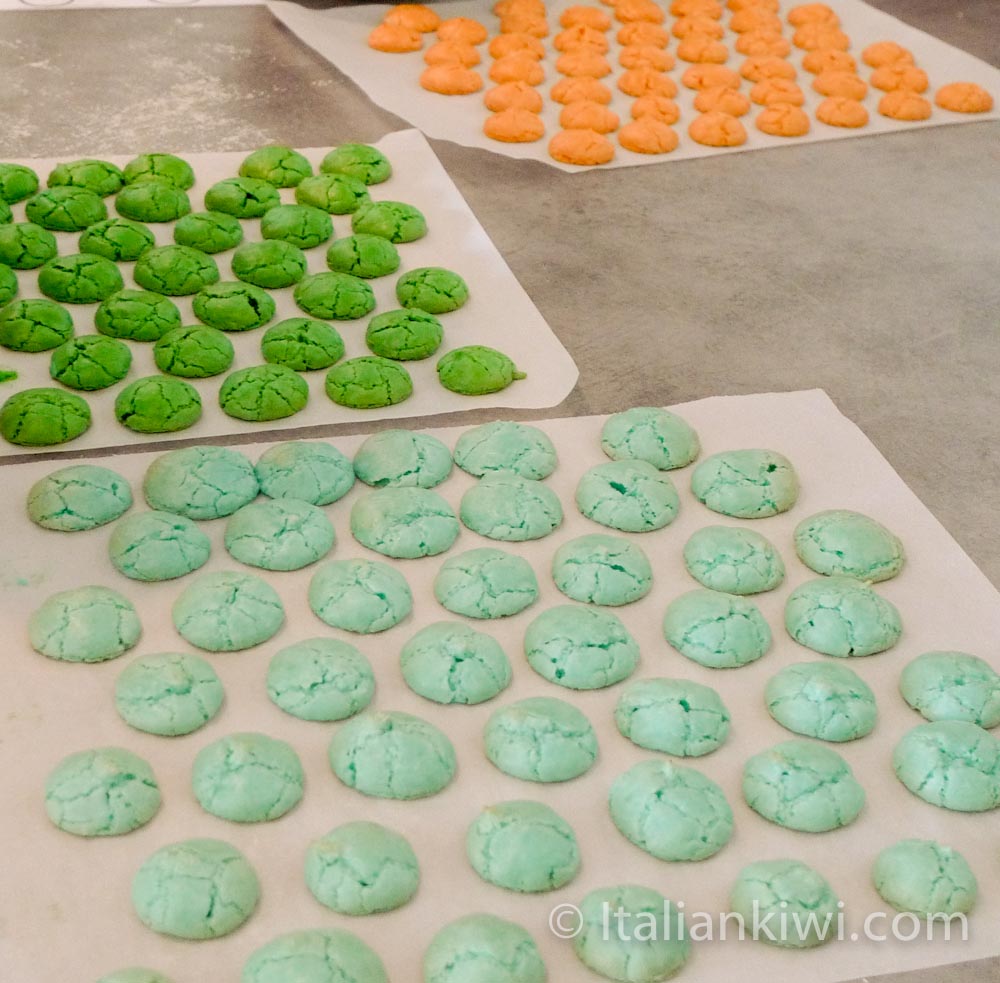
So, here are a few of the secrets that Tamara divulged to us to help you out a little: humidity causes the macarons to crack when cooked. Actually, if you look at the photo of those we made during the course, you can see that they didn’t work entirely. Actually maybe that’s a downside to having a cooking class with wide open french doors right on the sea-front, even though it’s very beautiful, it may not be a great place for making biscuits as fussy as these ones are. If you get even a trace of water on the baking tray, or on your fingers, that will be enough to make them pack a sad. That is why you need to use powdered colouring agents and not the usual water-based food colourings.
Another trick is that you have to use a tray with NO scratches or ridges on it, otherwise…..again….you’ll end up with un-puffed sweet chewy lumps (which all in all, don’t taste so bad!). You have to watch the oven like a hawk when they’re in there. The cooking temperature and time for baking are an indication only. DO NOT walk away from them. They’re very high maintenance and want your undivided attention. If they don’t have that, they will through a hissy fit and turn into a blob of something non-macarony. Then no matter how much you plead and cajole them, they will sulk and stay like that forever.
So…….after all that, are you ready to pick up your spatula? Good for you!!! I figure if I keep trying, one of these days, I will get macarons that actually look and taste like the ones you buys in the shops!! It was a great experience, even though the macarons didn’t work out. Tamara is a lovely person and very good teacher!
NOTE: update from April 2017: the atelier no longer exists, but Tamara offers courses online.
By Lisa Watson

Ingredients
- 75 g Ground almonds
- 75 g Icing sugar
- 30 g 1st Egg whites
- 25 g Water
- 75 g Caster sugar
- 30 g 2nd Egg whites
- Powdered colourant
- A candy thermometre
- A macaron baking sheet
- An icing piping bag with nozzle
Instructions
The day before:
- Mix together and sieve more ground almonds and icing sugar than you need. Leave for at least one night, if not two to dehydrate. You will need to weigh the quantities for the recipe at the end of this time as the ingredients will lose some weight due to the dehydration and the coarser lumps that don’t make it through the sieve.
- The next day:
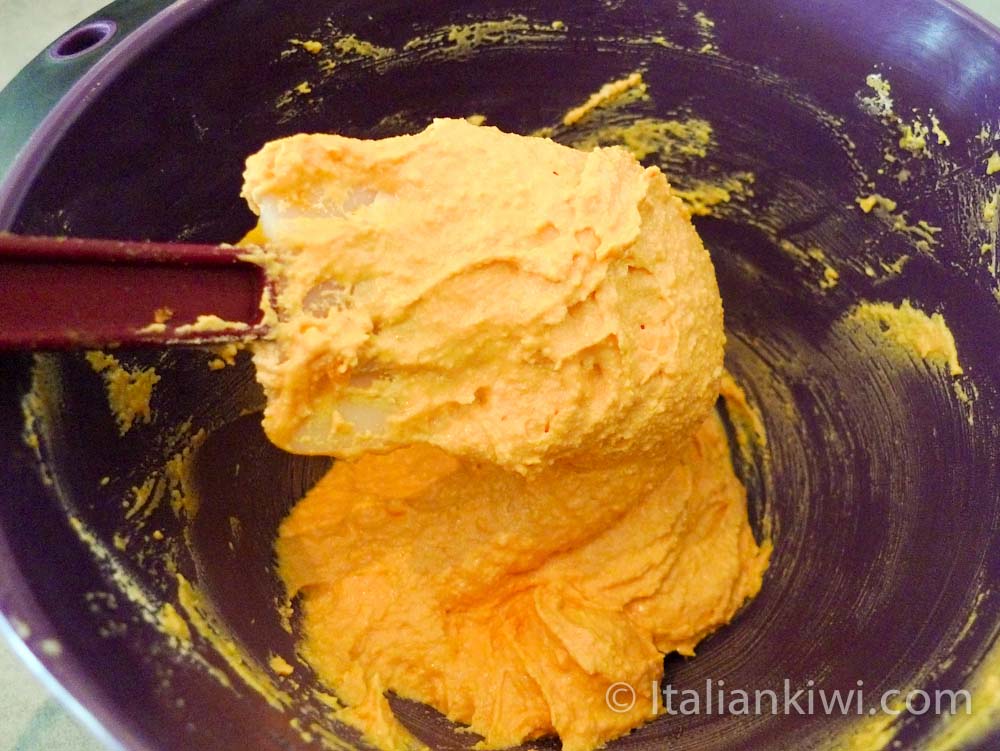
- Weigh out 150g (5.3oz) of the almond/icing sugar mixture. Add 30g of unbeaten egg whites and mix together. Choose the coloured powder you want to use and add a knife point of it. Mix in and continue until you are satisfied with the colour. Set aside.
- In a small pot, heat the water and caster sugar, stirring occasionally until it reaches 100°C (212°F). As soon as you reach this point, start beating the second 30g of egg whites with an electric mixer. They should become frothy at this point, but not stiff.
- When the sugar/water mixture heats to 118°C (244°F), take it off the heat and pour it in a slow, steady stream into the egg whites without stopping the mixer. Continue to beat the egg whites and sugar syrup on a moderate speed until the mixture is completely cold. Congratulations! You’ve just made Italian meringue!
- Now add the meringue mixture little by little to the almond flour mixture, stirring it in with a rubber spatula.
- Continue to swirl and pat the mixture until it begins to glisten. this can take a while. It took me about 5 or 10 minutes in the course.
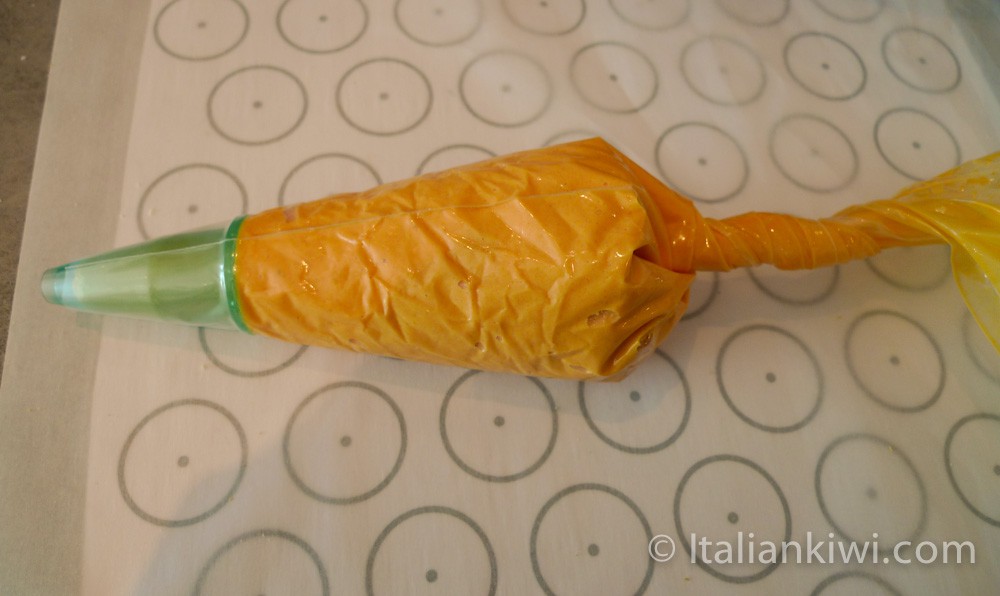
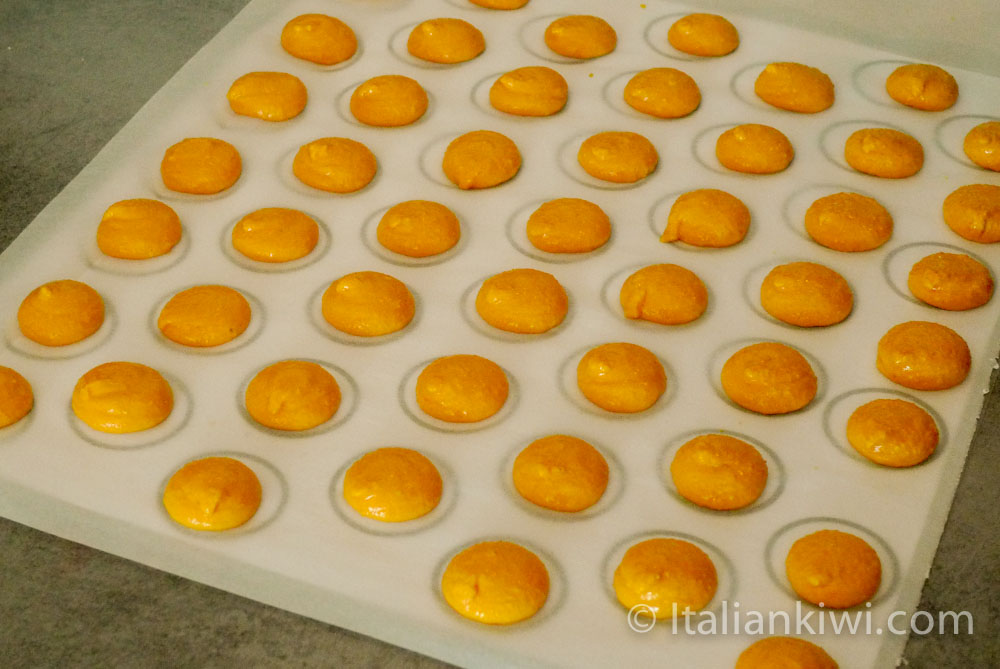
- Put the mixture in an icing bag and pipe out blobs of it to fill the pre-drawn circles on your baking sheet (so that they are all abot the same size).
- Cook the macarons at about 150°C (300°F) for approximately 10 -12 minutes. You need to watch them cooking. If they start to crack the oven may be too hot, so you need to lower the temperature slightly. Start to touch the tops of the macarons gently after about 8 minutes. When they are firm, but slightly yielding, then they can be taken out.
- Leave them to cool before putting them together with the filling of your choice. You can used jam, marscapone with flavours like chocolate or lemon, caramel, nutella, ganache (that’s for another recipe post!). Your imagination is the only limit!