The Big Debate About Pavlova
So, already with the title I wrote “Pavlova: the Giant Meringue from New Zealand”, I’ve made any Australians reading this fume and yell at their computer screens, “But it comes from AUSTRALIA , not New Zealand!!!”. Welcome to the secret Cold War between New Zealand and Australia! Each side insists that pavlova, anzac biscuits and lamingtons originated where they live. Things can get quite heated. People stop being invited to barbeques. It’s serious stuff.
When To Serve Pavlova
Pavlova is served at every twenty-first birthday you go to. It used to be a big deal to turn 21 in my parent’s time, as that’s when you could drink alcohol and vote. Now the age for both has dropped to 18, but people still celebrate turning 21 with groaning tables of food and large parties (often with lots of alcohol, if I can hazily remember my University years!). Pavlova pretty much always puts on a star appearance as the dessert. Of course, it’s also served up on other special occasions too. I’m not sure why only at festive times; I think maybe because of the lashings of cream on top of it. It actually only has three egg whites in it, so it’s not terribly decadent.
Is Pavlova Really Difficult To Make?
There’s a myth that always circulates about making pavlova: that it’s very difficult to make. Apparently, it is said that you either have the pavlova gene or you don’t. There are all sorts of hints floating around to make it work, like using a copper bowl, adding the sugar in many different ways, adding stabilisers, chanting in Incan and forming magical symbols in the air while it is mixing…..the list is endless. I’ve found that if you use a standing mixture and have an oven that keeps its temperature well, there is no need to fear. In the end, if the pavlova falls and cracks a little, it gets covered with whipped cream and fruit in the end, so it doesn’t matter, right?!
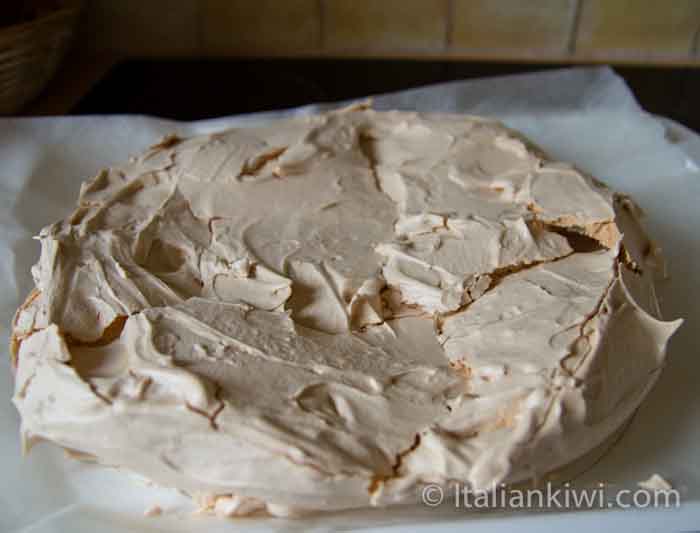
Pavlova should be crunchy on the outside, and melt-in-your-mouth soft on the inside when it is cooked properly. That’s something you can’t tell until you actually cut into it, so if you want to make this for a special event, I suggest you try it out first at least once before you do it. That means that you’ll have to eat it, but we all have to make sacrifices sometimes.
How To Decorate Your Pavlova
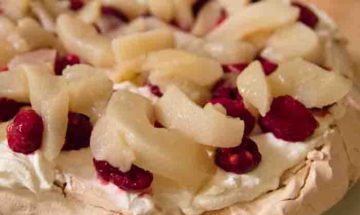
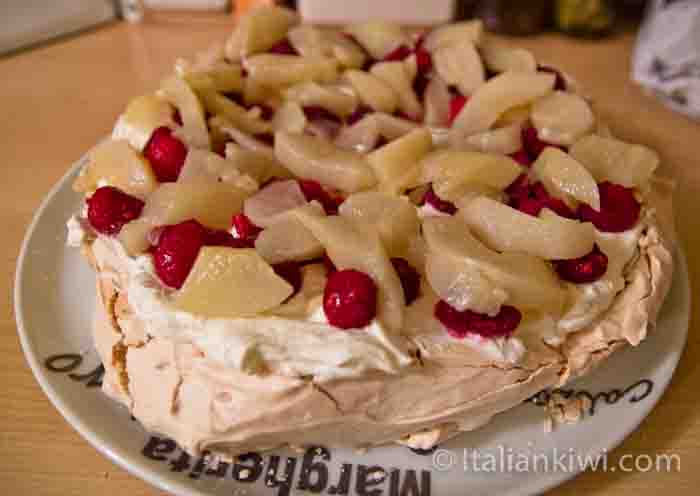
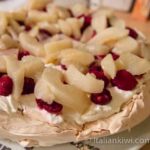
To decorate it after you’ve piled the whipped cream on top of it, you add whatever fruit you like. It’s particularly good with red berries when they’re in season. For the pavlova I made for this post, I put sliced pears that I’d poached in water and sugar (so they don’t go brown) and a few frozen raspberries on top. Many people in New Zealand use mandarin slices and kiwifruit if they make it in the Winter. In the end, you can put whatever you like on the top, after all any fruit or chocolate goes great with meringue and cream!
Travel Photo of the Week
I’ve chosen a photo from New Zealand, naturally, as that”s what I’ve been writing about. This is Mt Eden, an extinct volcano in the middle of Auckland, the largest city in NZ. It is built on many extinct volcanoes (well, let’s hope they are!). They was a fantastic children’s book written years ago in NZ called “Under The Mountain”, where the portal to this terrifying world was through the base of Mt Eden’s crater. I must read that to my kids to scare them silly!

By Lisa Watson
Pavlova
Ingredients
- 3 Egg whites
- 200 g Castor sugar 1 cup
- 1 tsp White vinegar
- 3 Tbsp Water
- 1 tsp Vanilla extract
- 4 tsp Cornflour cornstarch
- 400 ml Whipping cream 1 1/2 cups
- Fruit your choice for decoration
Instructions
- Heat the oven to 150ºC (300ºF).
- Using a standing-mixer, beat the egg whites until they turn white and start to get fluffy.
- Keep beating and add the sugar a little bit at a time.
- Add the vanilla extract, vinegar, cornflour and water while still beating.
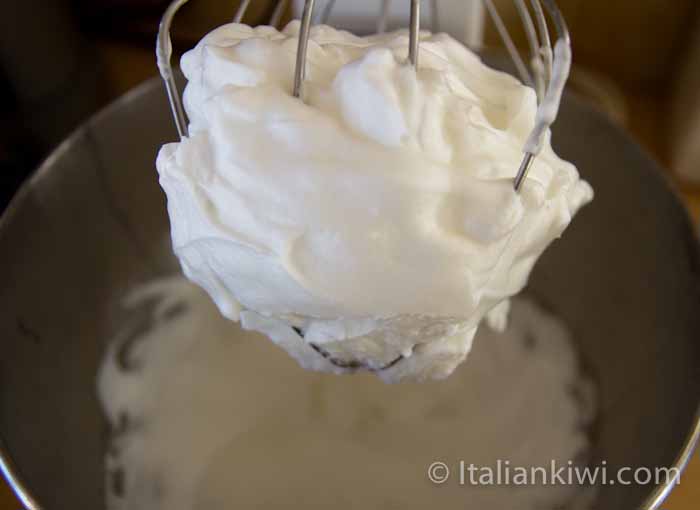
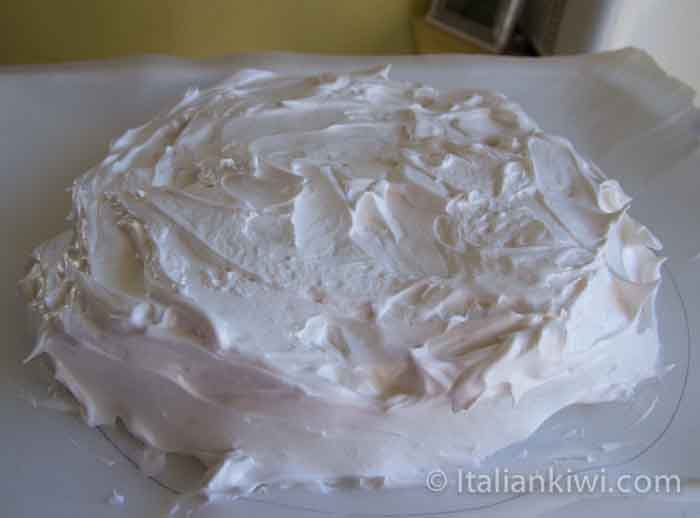
- Continue to beat the mixture until it is thick and glossy (see the photo in the post for the ideal thickness).
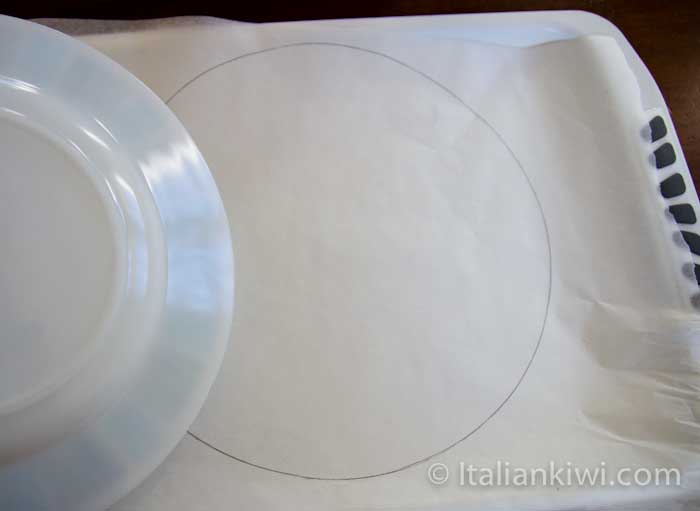
- Trace a circle on a piece of baking-paper, using a dinner plate as a guide. Turn the paper upside-down (so you don’t get lead in your pavlova!) and place it on a cookie tray.
- Scrape out the mixture and shape it into a circular, flat mound. If it sticks to your utensils, dip them in water and then cotinue. Smooth the egg whites until you have the shape you want.
- Bake it in the oven for 40 – 45 minutes, then turn the oven off, and let the pavlova cool in the oven.
- When it is cool in can be kept for two or three days in a dry place. Just before serving, whip the cream until thick, and decorate it with your choice of fruit.